Microsoft Visual Studio really supports you during the App development. It provides you lot of facilities and easiness in the form of pre-defined required code, Intellisense and important files that makes the developers life so much easier than ever before.
Perhaps there are few things which you might want to do right after creation of new project.
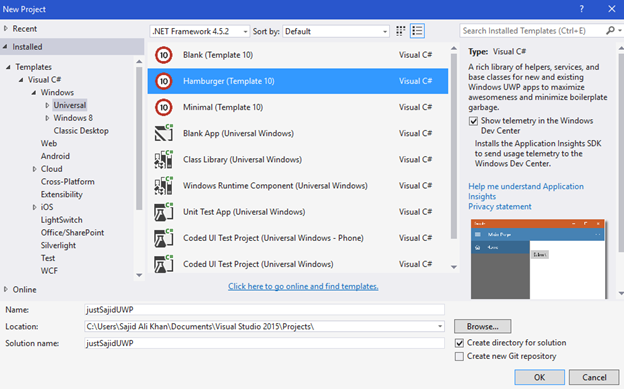
Pick the Right Template
When you create the project then even at the time of project creation Visual Studio provides you lot of templates so you can pick up the right project type for you that will help to fully concentrate upon your project.
Choose the Target Versions
After you choose the project template and click OK, Visual Studio will ask you for target platform versions. Here you can choose the Maximum and Minimum Target Version which I recommend is to choose the latest target version in “Target Version” and choose the earliest target version in “Minimum Version”. That will allow you to target all the target versions of UWP Platforms.
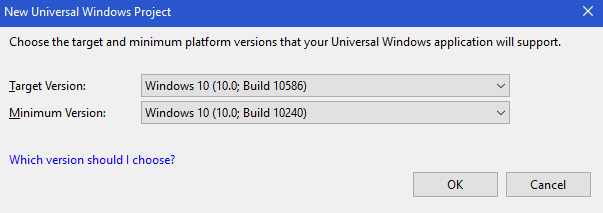
Perhaps its upon you, choose whatever your requirement is. If you are want to target a specific build, then choose accordingly…
Then after you choose the Target Versions, Visual Studio will create lot of stuff for you so you can now directly focus upon your app goal…
DisableFrameRateCounter
Now the first thing which you should do is change the EnableFrameRateCounter = false. Basically the Frame Rate Counter really disturb while testing your app.

So to remove that counter, simply change it from true to false.

So that’s how you can get yourself free from that ugly counter…
Change the Splash Screen
The next thing you should do is to replace that default splash screen and other icons from Assets folder…

So for that, simply open Package.appxmanifest file from the Solution Explorer. Here you can fully customize your app.
So from here you can customize your all basic visual assets;

But to customize assets you need to care about parameters and size etc…

That will make your app cool from the beginning and keep your interest to play with stuff…
Add a Back Button
Next thing you should do is to add Back Button in your app if required. Most of the apps which you develop might require go back to previous frame or in common term, previous page.
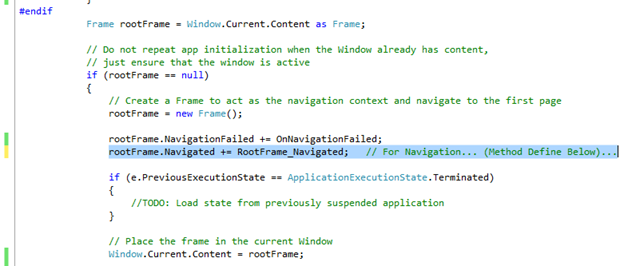
So for that, simply add the following code in to your App.xaml.cs file to your OnLaunched event handler.
rootFrame.Navigated += RootFrame_Navigated;
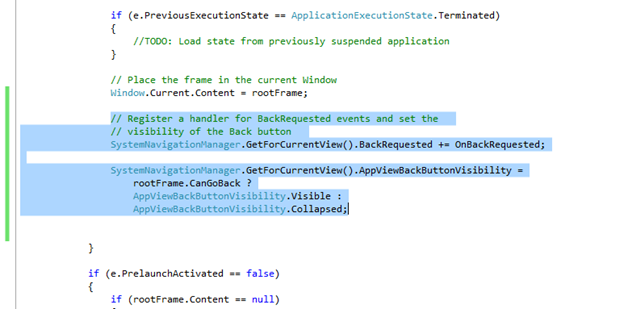
// Register a handler for BackRequested events and set the
// visibility of the Back button
SystemNavigationManager.GetForCurrentView().BackRequested += OnBackRequested;
SystemNavigationManager.GetForCurrentView().AppViewBackButtonVisibility = rootFrame.CanGoBack ? AppViewBackButtonVisibility.Visible : AppViewBackButtonVisibility.Collapsed;
Now simply defined the methods which we declared above;
private void RootFrame_Navigated(object sender, NavigationEventArgs e)
{
// Each time a navigation event occurs, update the Back button’s visibility
SystemNavigationManager.GetForCurrentView().AppViewBackButtonVisibility =
((Frame)sender).CanGoBack ?
AppViewBackButtonVisibility.Visible :
AppViewBackButtonVisibility.Collapsed;
}
private void OnBackRequested(object sender, BackRequestedEventArgs e)
{
Frame rootFrame = Window.Current.Content as Frame;
if (rootFrame.CanGoBack)
{
e.Handled = true;
rootFrame.GoBack();
}
}

And there you go… So whenever you go to next frame in your app it will add back button on the top bar in Desktop version. In Mobile, the back button will navigate you to previous frame…
Default Page
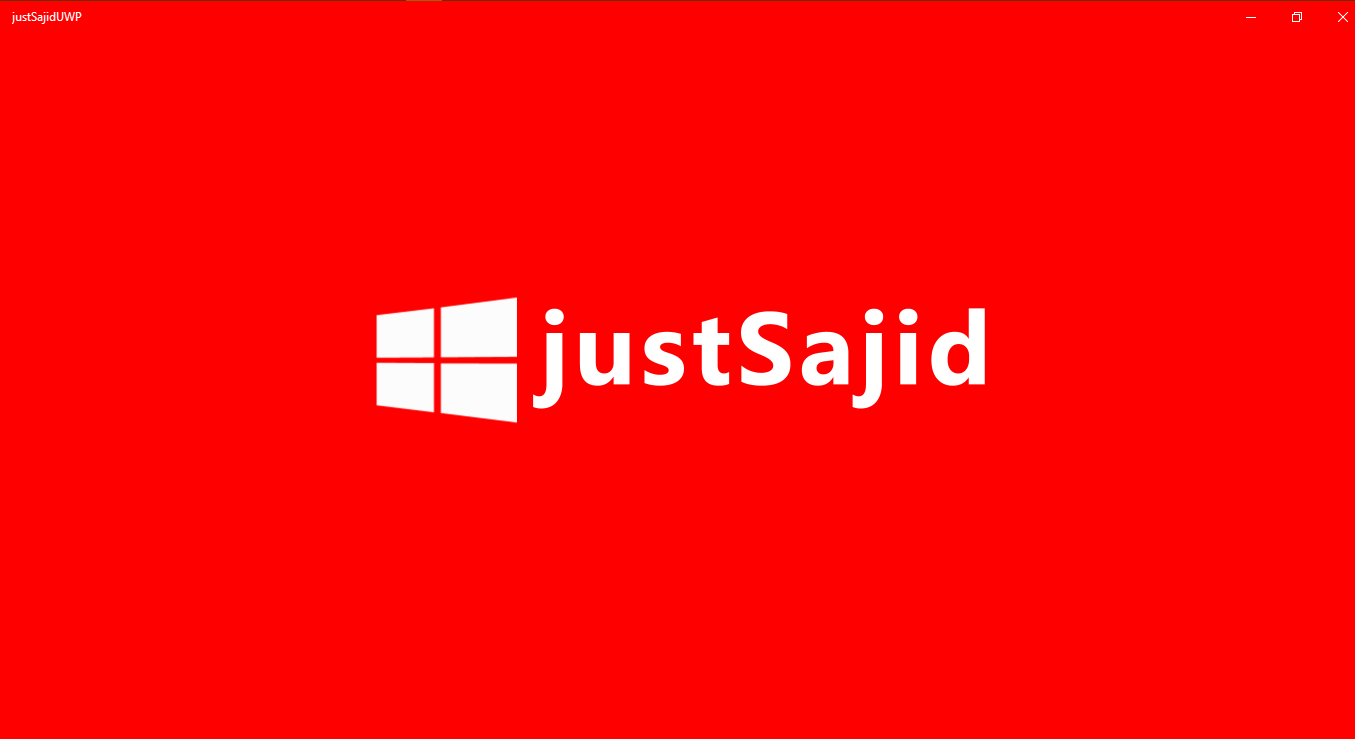
Another thing which you might want to do is to make make your own default page for your app rather than MainPage.xaml And for that simply add new page and named it whatever you like.

Now from App.xaml.cs simply change the root frame navigation from MainPage to your own default page (In this case justSajid.xaml).
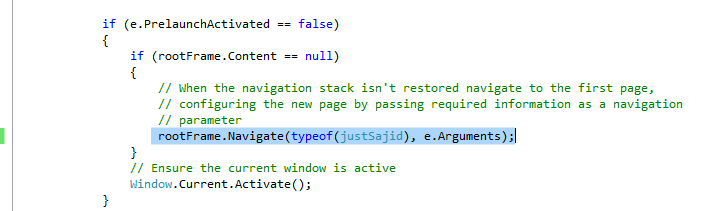
And now you may simply delete your MainPage.xaml from solution explorer.
Conclusion
Hope that will help you to JumpStart into your project whenever you are going to develop an Idea into app…
FOR HANDS ON DEMO
In order to get a best hands-on experience along with the Blog. Try out the code either By MSDN Code Samples or By GitHub.