So, as you already have some hands-on with JAVA development, let’s do move forward and play with JAVA Frameworks. There are different frameworks available in JAVA. Each framework has its own pros and cons. Developers can use any framework as per then need, requirement and ease.
Here, we’ll be talking about MVC and Spring along with RESTful services.
Maven;
Maven is the software project management and comprehension tool based on POM (project object model). It is used for projects build, dependency and documentation. It simplifies the build process like ANT. But it is too much advanced than ANT.
As per Wikipedia definition, “Maven is a build automation tool used primarily for Java projects. The word maven means “accumulator of knowledge” in Yiddish. Maven addresses two aspects of building software: first, it describes how software is built, and second, it describes its dependencies.”
The primary goals as follows:
- Easing the build process
- Providing a uniform build system
- Providing quality project information
- Providing guidelines for best practice development
- Allowing transparent migration to new features
In order to achieve the preceding goals, Maven provides a set of build standards, an artifact repository model, an engine that describes projects, and a standard lifecycle to build, test, and deploy project artifacts.
Technical Overview;
Maven Component Architecture can be shown here;

Maven provides developers a complete build lifecycle framework.
So, Lets start playing with it Maven;
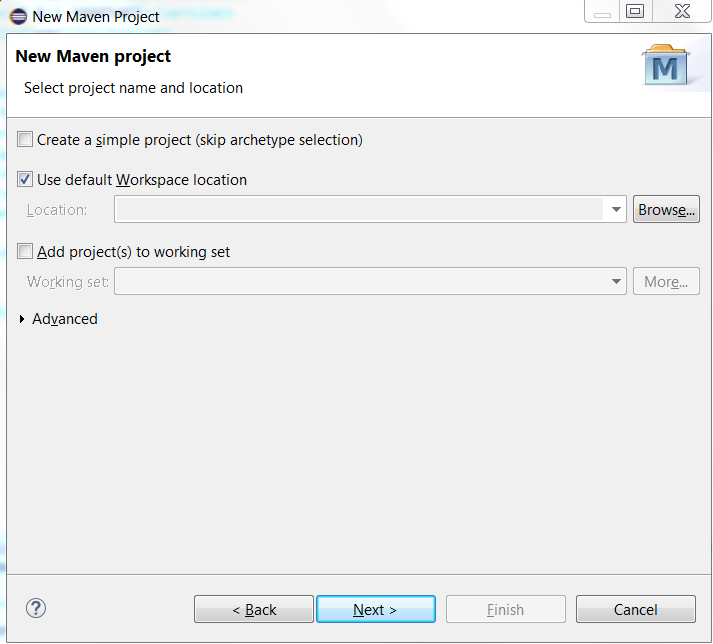
Simply start your Eclipse EDI and go to create new project, search for Maven, select Maven Project and click Next;

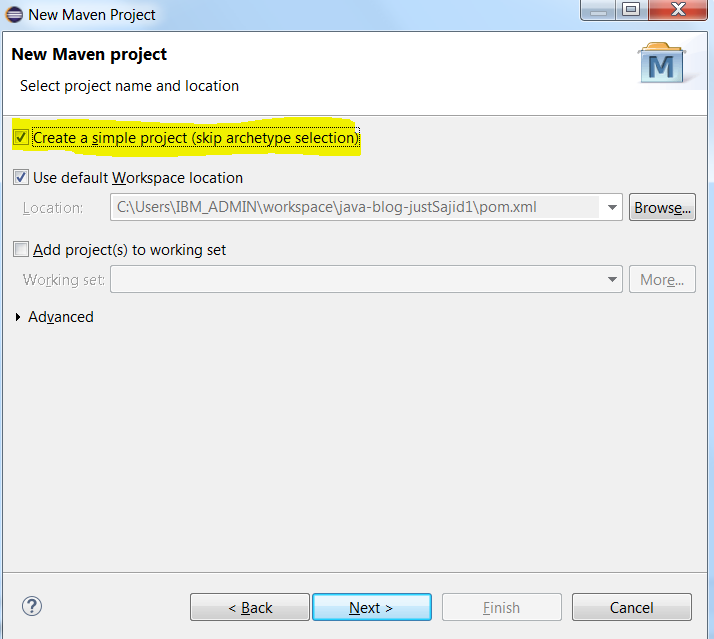
For now, we’re going to play with Simple Project, so select the first checkbox and click Next;
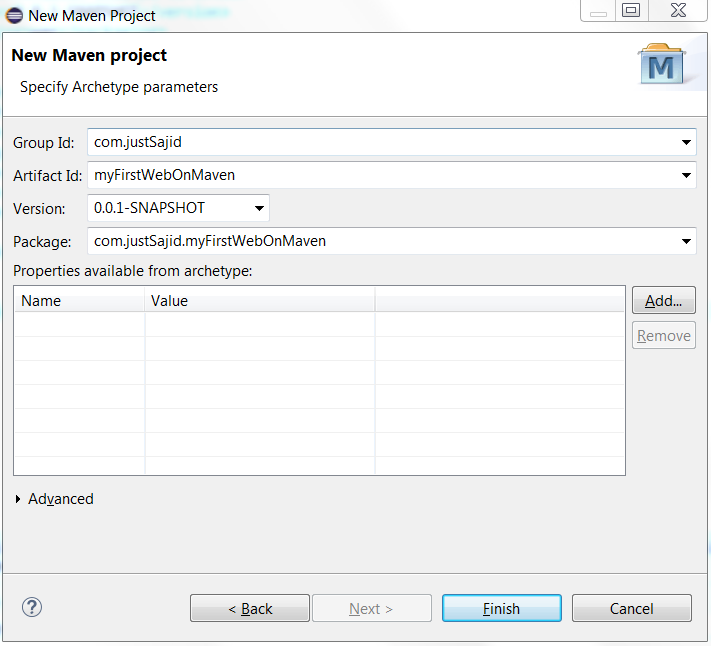
Now, simply give that Group ID and Artifact ID along with required fields and click Finish.
And Eclipse will create the project for us in few seconds.
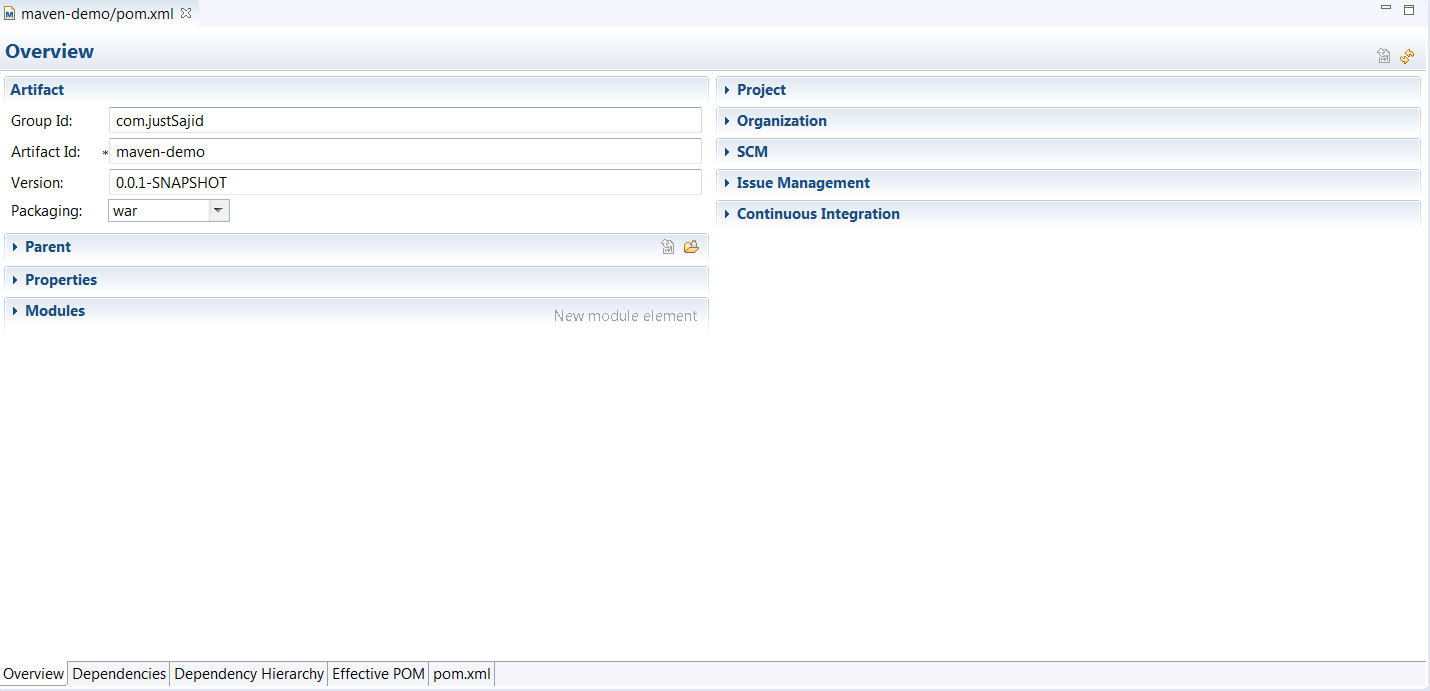
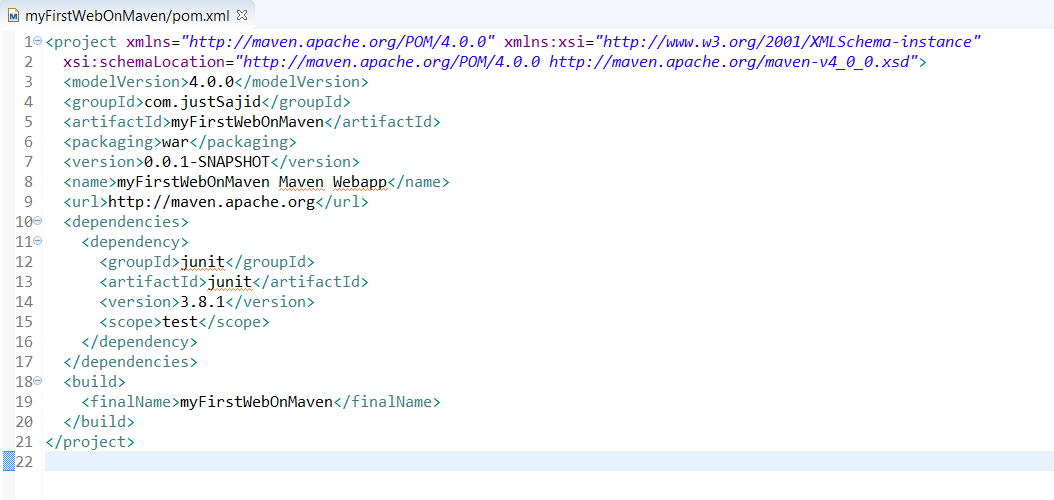
Now if we open the pom.xml file then it will show us the overview of the pom.xml file;
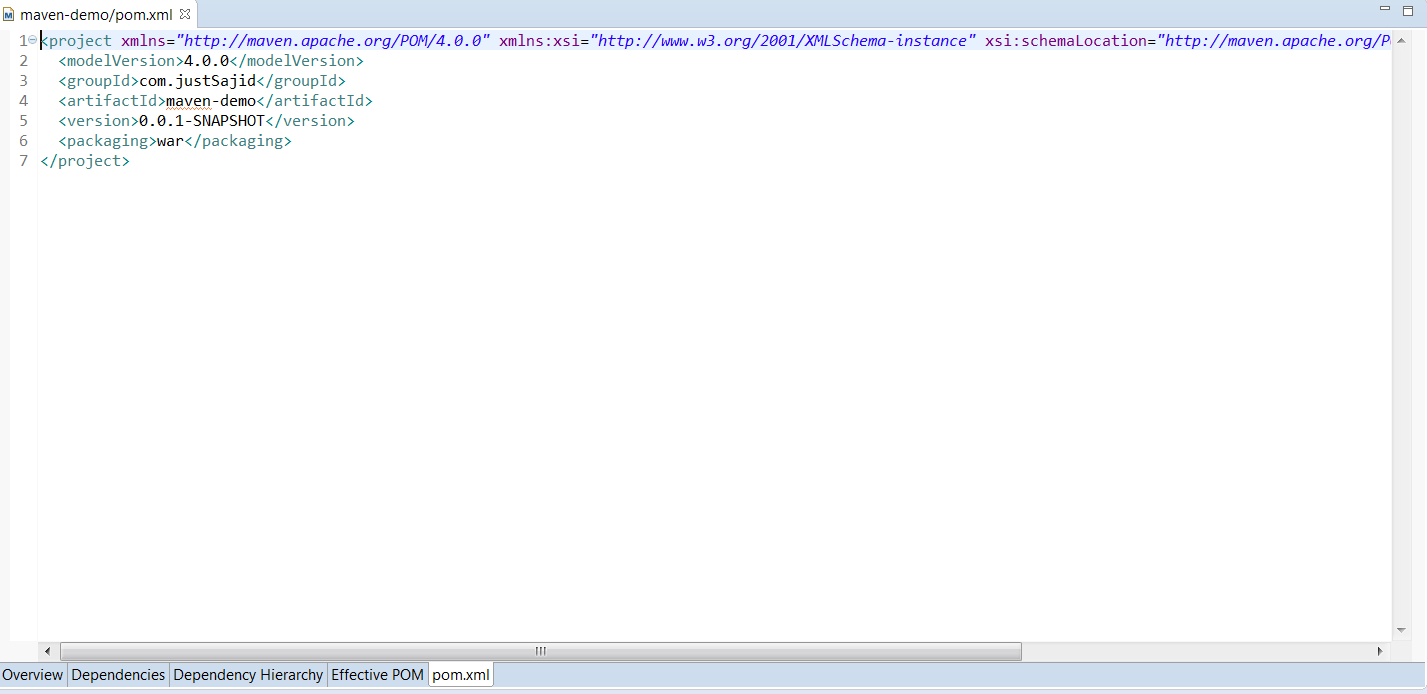
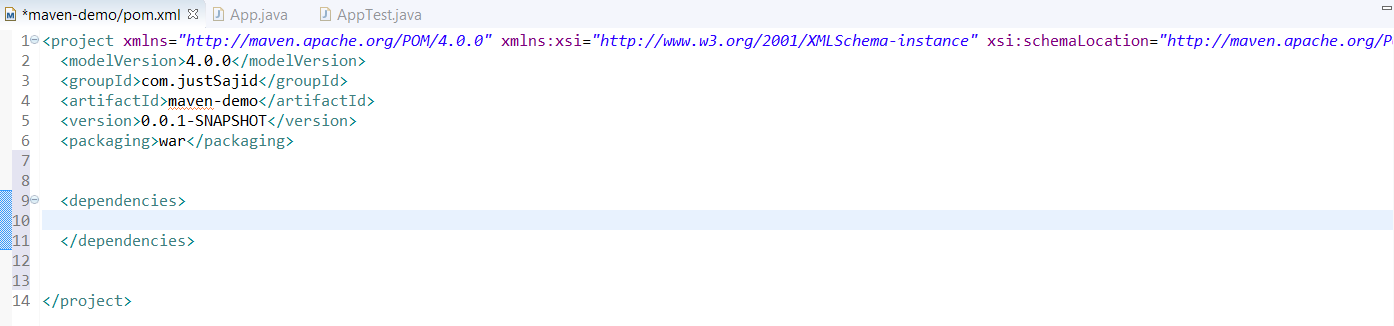
Now if we click upon pom.xml then we can see the xml code of the file. Here we can see four major elements including moel Version, groupId, artifactid, version and packaging;
Now let’s create a sample class to understand how this Maven Project works better. Simply select the scr/main/java package and by going to New->Project, create a new class here;
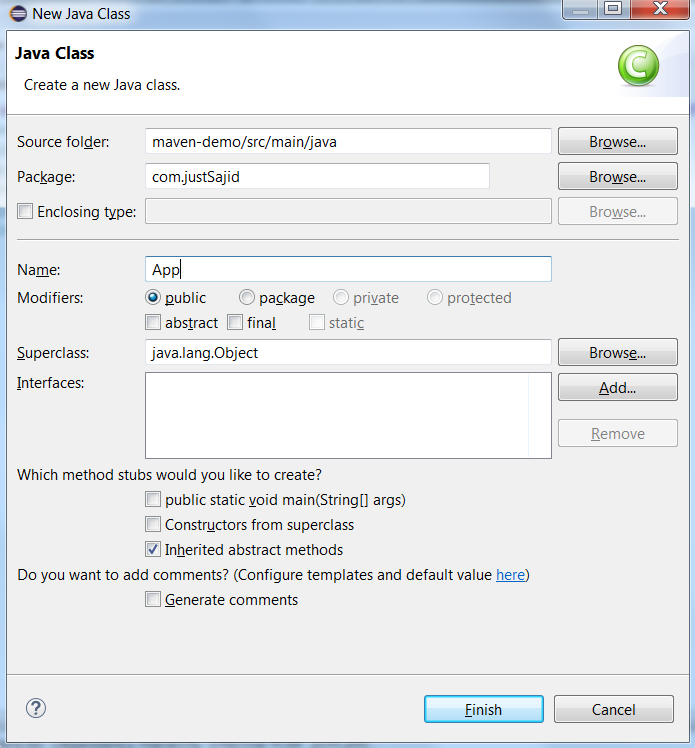
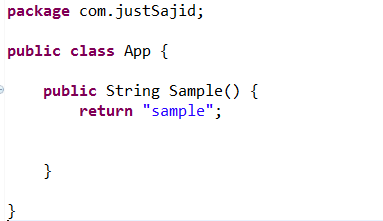
Now let’s create a very basic method here;
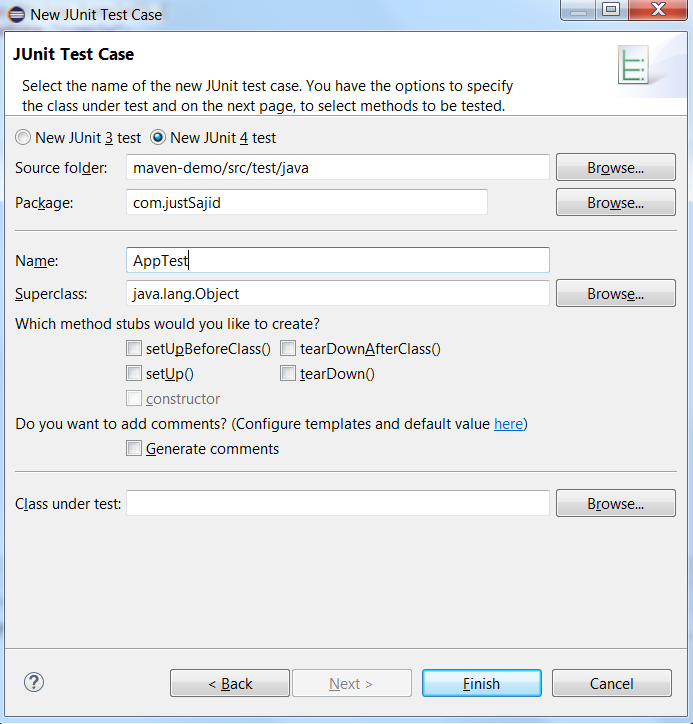
Now from src/test/java package and go to New->Other, simply and search JUnit category and create a JUnit test case for our Project;

Now simply give package name and required information and click finish;
Now, as soon we will hit finish, it will create the class along with sample test;

In normal cases, when we’re not using Mavan as our build management system, a developer need to download this jar file and add it to the build path every time.
Now to add dependencies, we simply move back to pom.xml file and add dependencies;
Now to define dependencies for JUNIT or any other thing, you don’t have to remember the code for everything. Maven makes your life so much easier.
Simply Google Maven JUNIT dependency which we are looking for right now, get the appropriate link of Maven repository and you can see the latest code snippet of JUNIT dependencies;
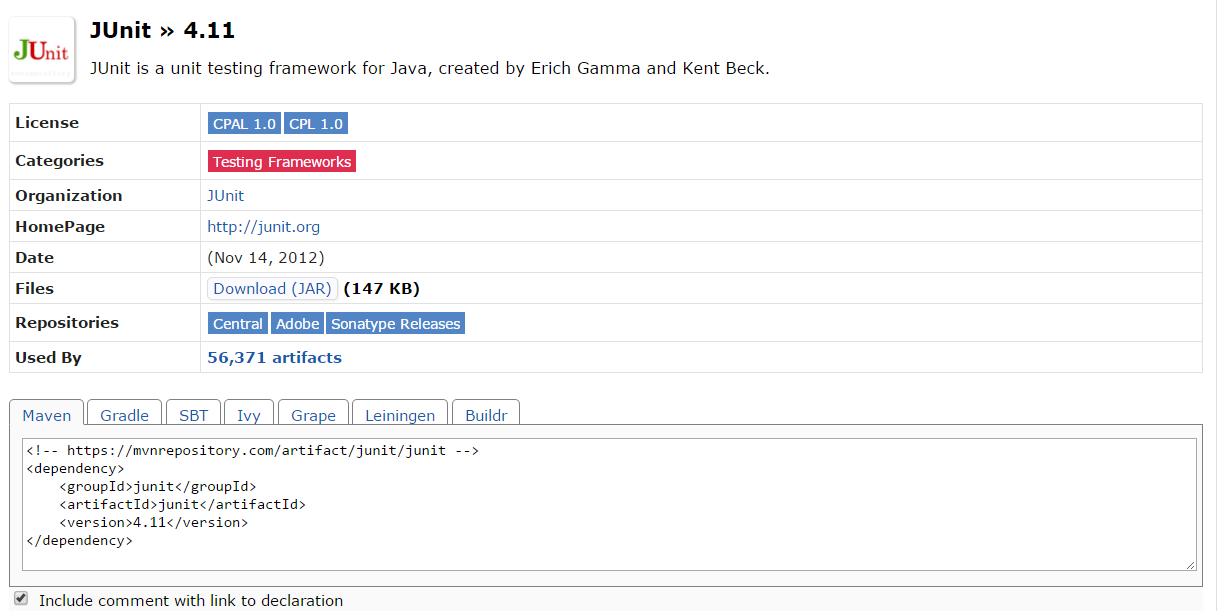
Now simply take the snippet from there and insert into the dependencies tag;
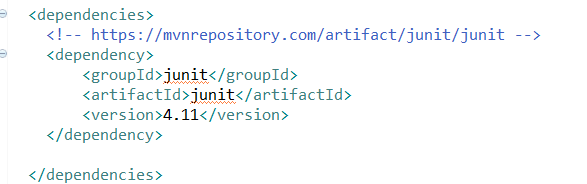
Here, we can see this dependency contain groupId, artifactId, and version of JUNIT.
Now, as soon we save the changes, a library will add and a folder name Maven Dependencies will add to our project;
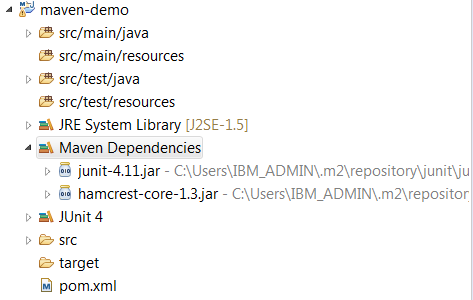
And inside that folder we’ve junit jar file.
And vise-versa, if you remove the dependencies, this folder will automatically remove. : – )
Now lets play with sample web project through Maven. : – )
Simply create a maven project as before, but this time we keep everything default during the creation of the project;
Now simply filter the WebApp from the projects and hit next;

Now, simply give the required credentials and hit Finish;
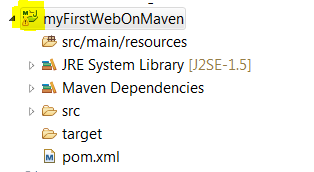
And you’ll see the Maven Project created for you in few moments. BTW, on Maven Projects you can see the capital ‘M’ over the project icon;
So, pom.xml file contain all dependencies for our app. So, let’s open that;
Now, let’s do run the Web Application. Now to do that, we need a webserver. So for that, we are using local server, i.e Tomcat;
* You will need Eclipse EE edition to configure local server.
Now, as your Tomcap should already installed and configured with Eclipse, simply go to Windows–>ShowView–>Other and search for Server and click ok. It will open a new window for you.
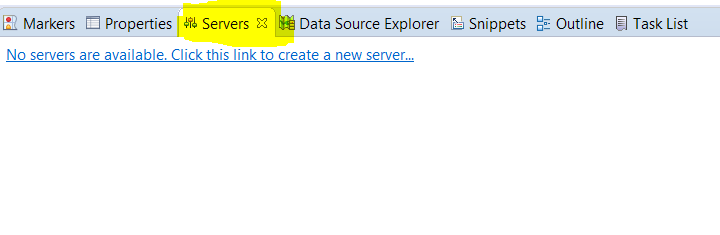
Now as we can see, there is no server available. So simply do right click on create a new server, select the server and hit finish;

And this will add the Topcat server at local host;

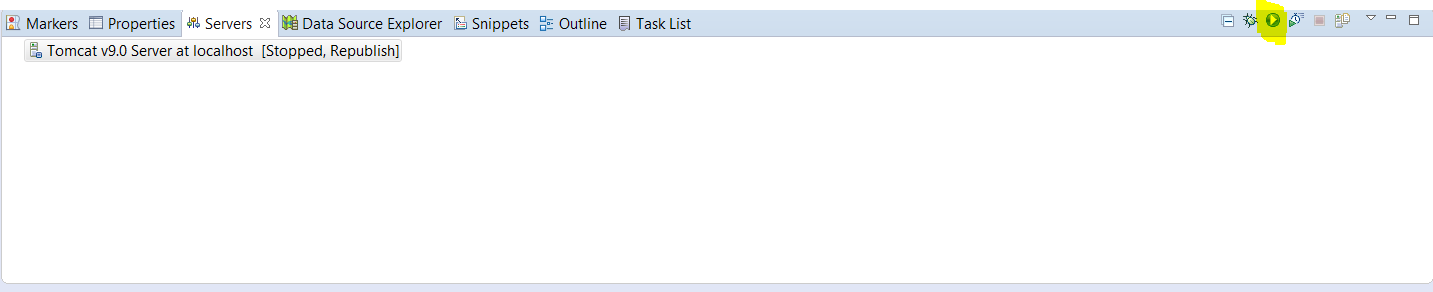
Now, as we can see the server is stopped, so simply start the Server;
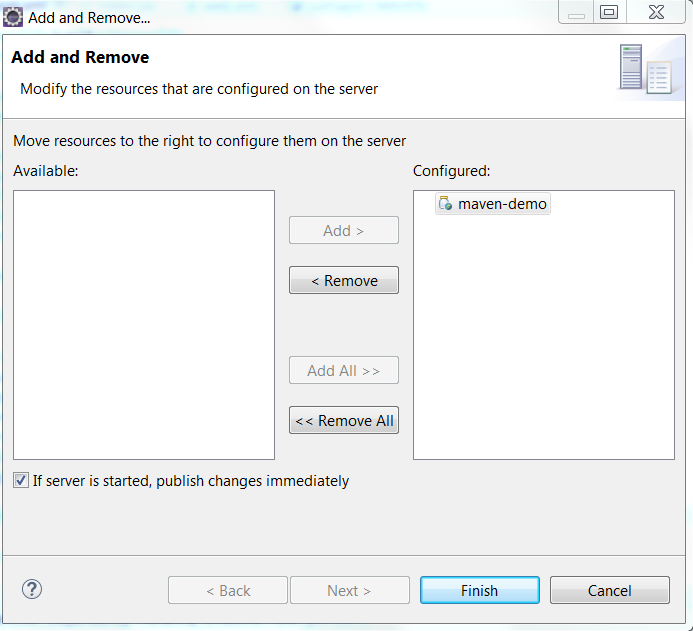
Now to configure the project with server, simply do the right click and go to Add or Remove.

Now, simply add the project to server which we already created;
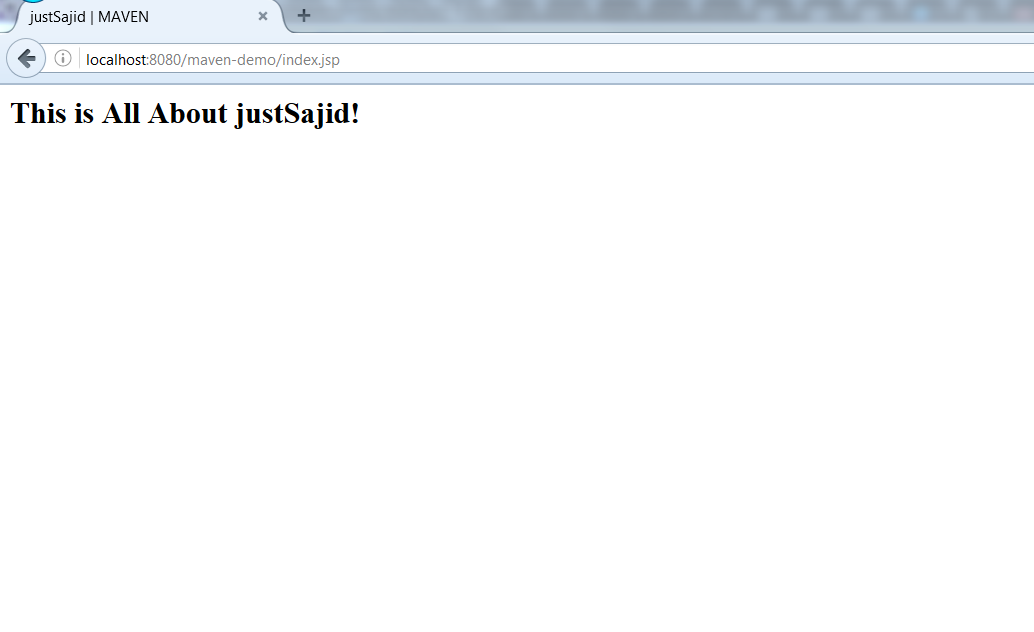
Now, simply run the application for testing. And you will get the output on the local host URL;
Now Lets Play with Spring Web MVC framework Here;