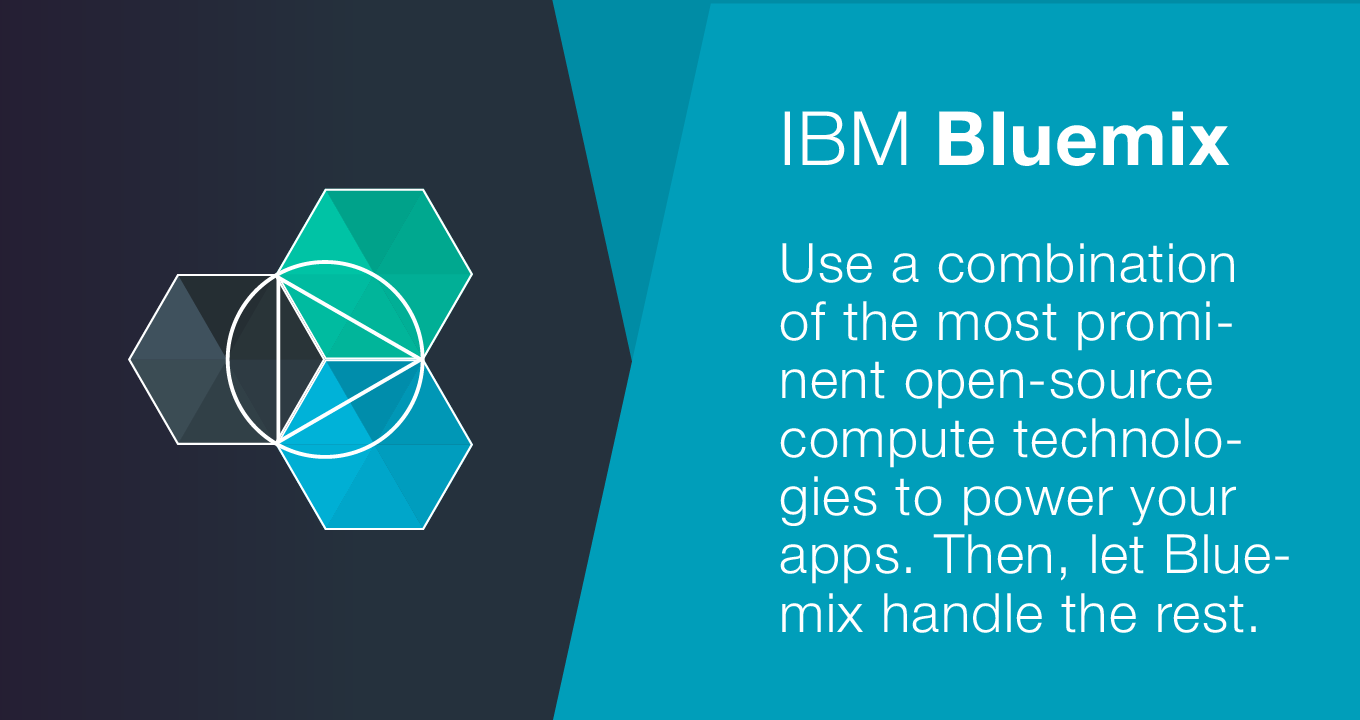
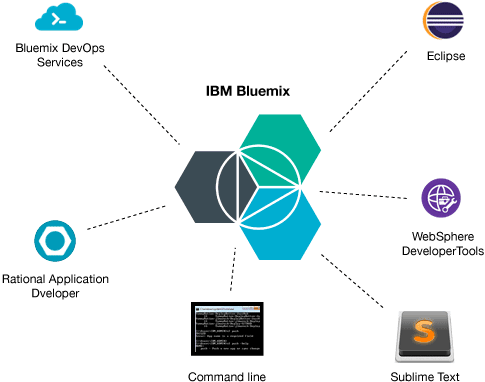
IBM Bluemix is the world most exclusive cloud platform that provides developers to quickly develop, Deploy and manage Apps over the cloud without dealing with any underline infrastructure. Bluemix provides great open source platforms for your needs.
Tech experts believe that up to 2020 the computing era would completely change. As in the beginning of PC computing, apps were run from (and data was stored on) individual systems locally. As the time went on, companies recognized the benefits of centralized computing and control and moved to a model where data is stored on, and many apps were run from servers on the local network. The next step moves apps and data storage even farther away from the end user, into the “Cloud” with everything placed at remote servers. That allow users to access programs and data anywhere, from any Internet-connected machine, including low-powered (and low-cost) netbooks…
So, Let’s do see a video clip to understand Bluemix;
So, the one question which might be coming in our mind is;
What is IBM Bluemix???
There is not an official definition found for that! Perhaps we can define it in such a way;
“IBM Bluemix allows you to perform Virtually any compute or data storage operation by provisioning and scaling the necessary resources on demand on a pay-as-you-go basis.”
Now the second question which might be coming in our mind is;
Why Do We Need IBM Bluemix???
Well, there can by dozens of ways to answers that. Perhaps following points would justify why would you need Bluemix;
Scalability and Flexibility
By using Bluemix, you can easily create reliable and scalable apps that can run for 10 to 10 thousand or even 10 million users — without any additional coding. IBM Storage provides scalable, secure, performance-efficient storage services in the cloud.
Easy Environment;
The Environment is according to your ease. You can easily create, develop and deploy anything by using Bluemix by following few easy steps or by just a few clicks.
SDKs and APIs
You can easily be worked with different Software Development Kits and appropriate APIs of different platforms to develop and integrate into your own solutions.
Cost Models and Benefits
You can take advantages of resources in the cloud that allows you to decrease your costs for building and expanding your on-premises resources. You can also reduce the cost of IT administration because the hardware is being taken care of for you, off-premises. The cost of creating, testing, debugging, and distributing Web-based applications goes down because you have to pay only for the computer processing time and storage space you need at a given time.
Cloud Data Centers;
IBM Bluemix provides organizations with all the benefits of an enterprise-class data center without the hassle, headaches, and cost of maintaining such an entity. You can get high availability and reliability with redundant copies of your data and automatic failover. No more worries about backing up data yourself.
Hybridization;
Through IBM Bluemix you can develop hybrid apps that allow your on-premises apps to use cloud services, such as the cloud database and storage services. Communications services work between on-premises apps and the cloud, as well as remote devices.
Security;
IBM designed Bluemix with security in mind. As the security is one of the biggest concerns for companies considering a move to the cloud. So with Bluemix, you don’t have to worry about security.

Easy To Build Apps With Bluemix;
Bluemix has built on Cloud Foundry which is an open source cloud platform.
It’s really easy to build apps with Bluemix. There are just three easy and major steps to build cloud foundry apps very easily;
- Choose the runtime that we need to use.
- Choose the services that we are looking for.
- Deploy our app by pushing our code up.
And! Kaboom!!! Your app is up and running.

Bluemix is just more than Platform as a service. It provides IBM Containers that uses Docker containers. Also, there are Virtual Machines that is powered by OpenStack.
Create an Account at Bluemix;
It is quite easy to develop an account at Bluemix. Simply go to SignUp Page of Bluemix;
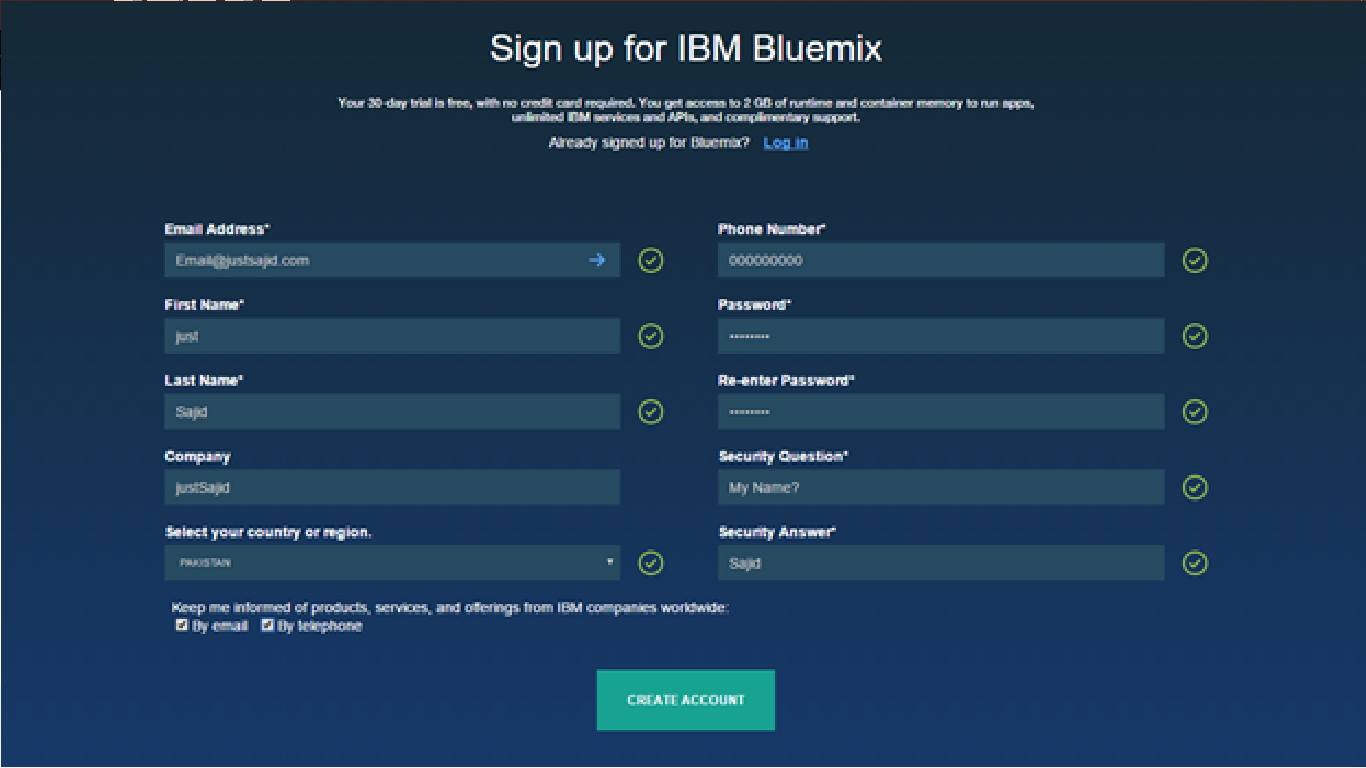
Simply enter the credentials and click the button of Create Account.
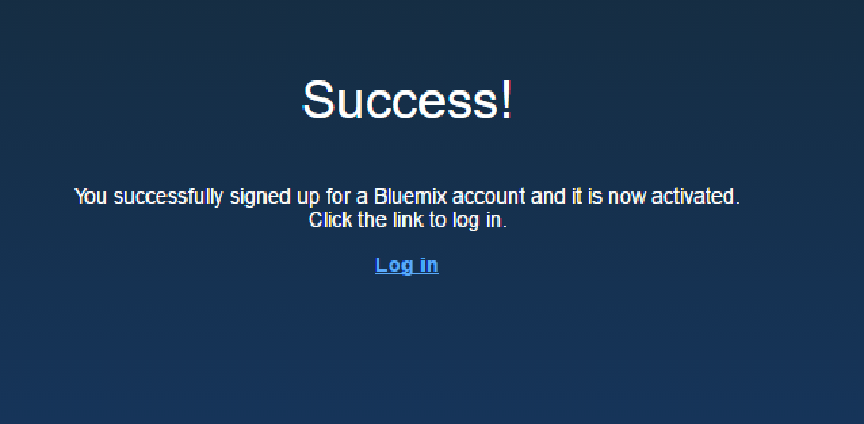
Now you will get the confirmation Email at your email which you provide. Simply go to verification link and so you have verified your account.
Now, it will show you the message here;
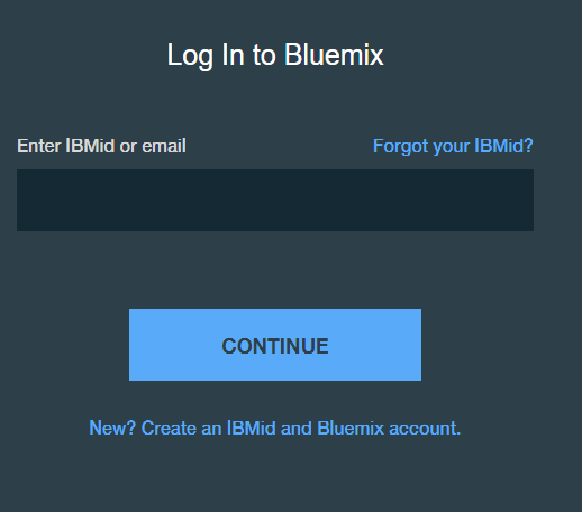
Now simply do login
Now it will ask you for a simple login;
Now right after first login, it will ask you to choose a company name;

The Company name is like a project name or team name that shares resources, such as apps, databases, and other services. Orgs exist in geographic regions, so decide where you’d like to put your first one.
Now simply enter the name of the space;
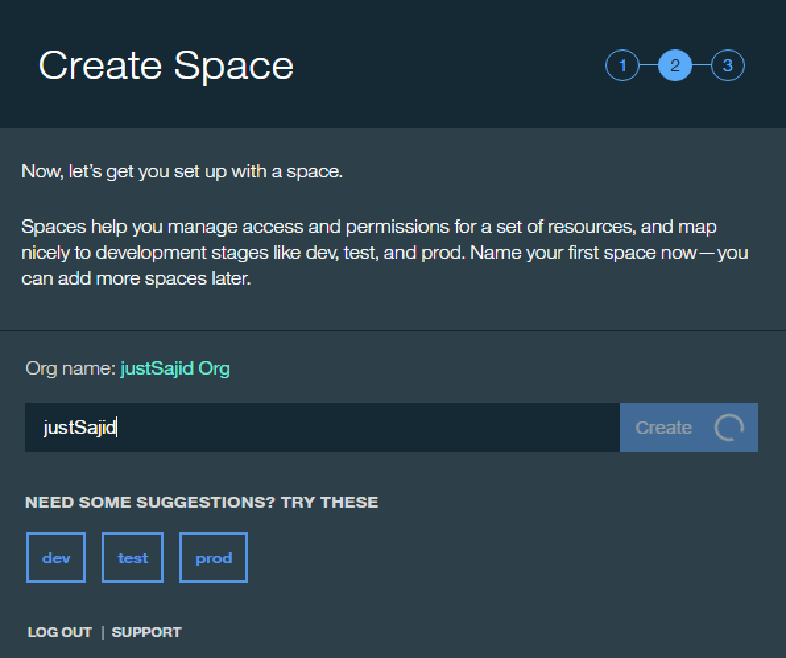
Spaces help us to manage access and permissions for a set of resources and map different development stages like dev, test, and prod.
Now you will see the Summary of your first organization and space which you have create so far.

Now when you are done with everything and click I’m Ready button.
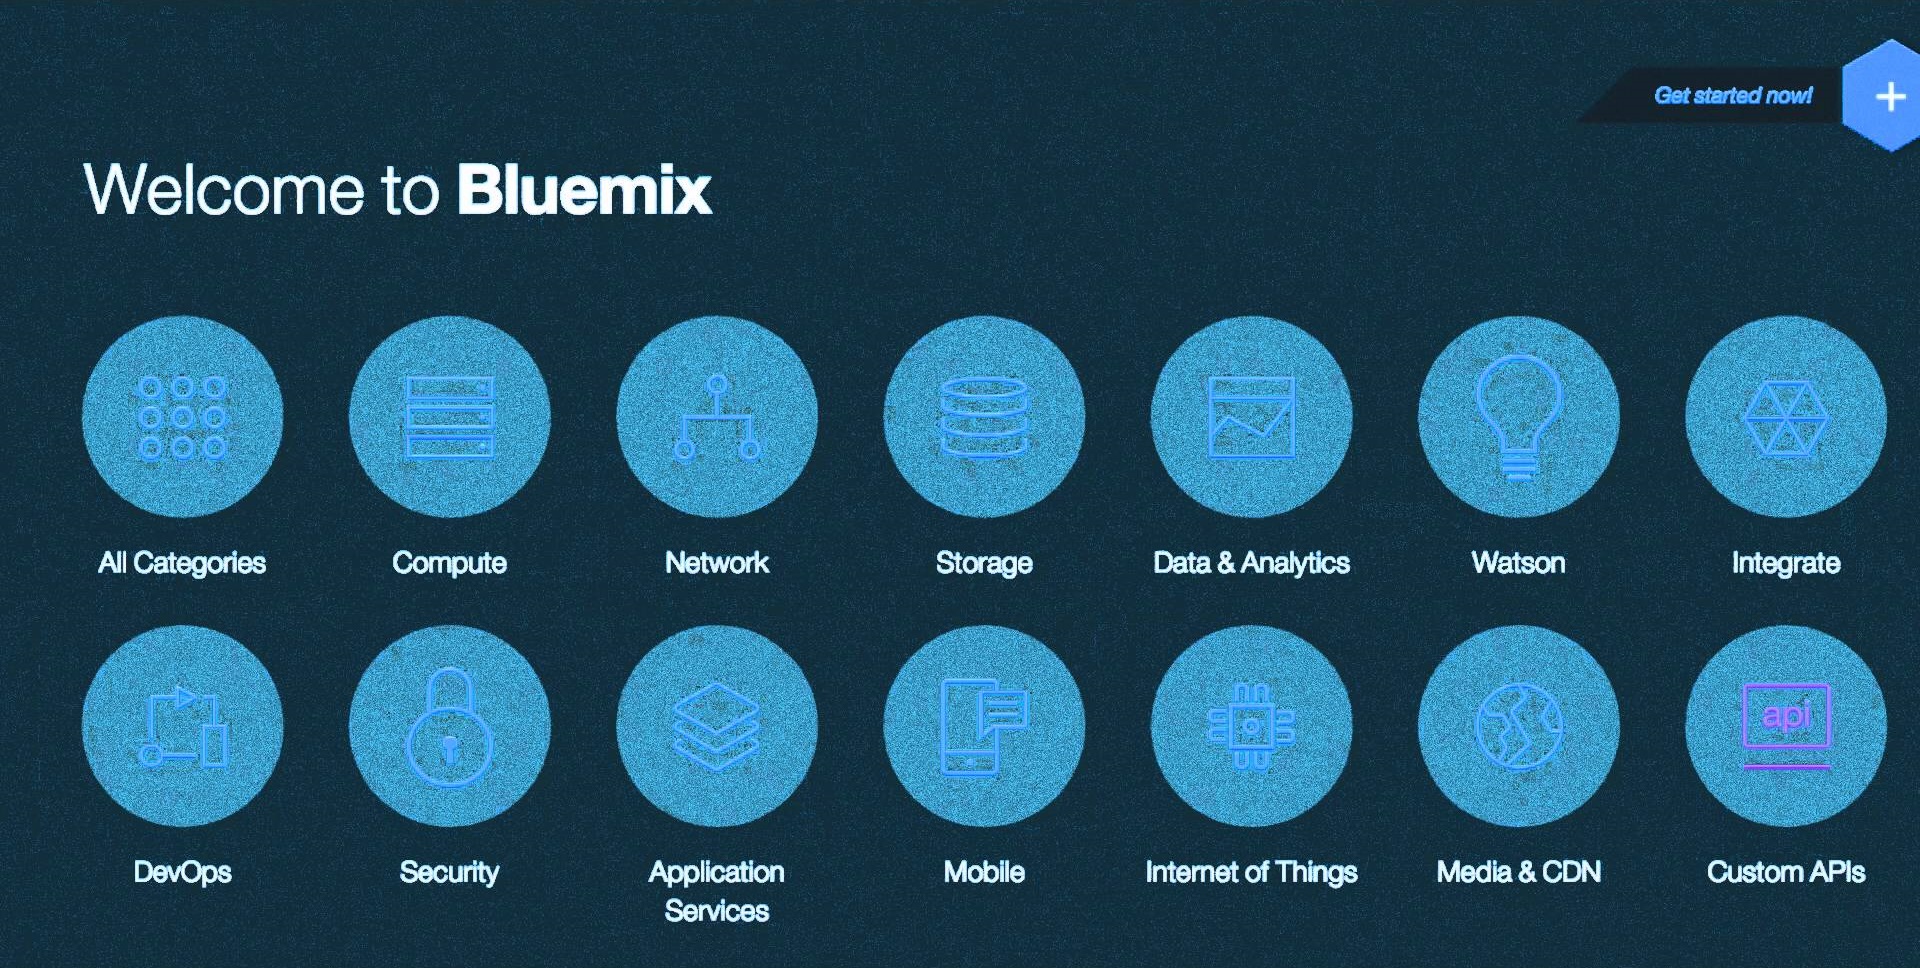
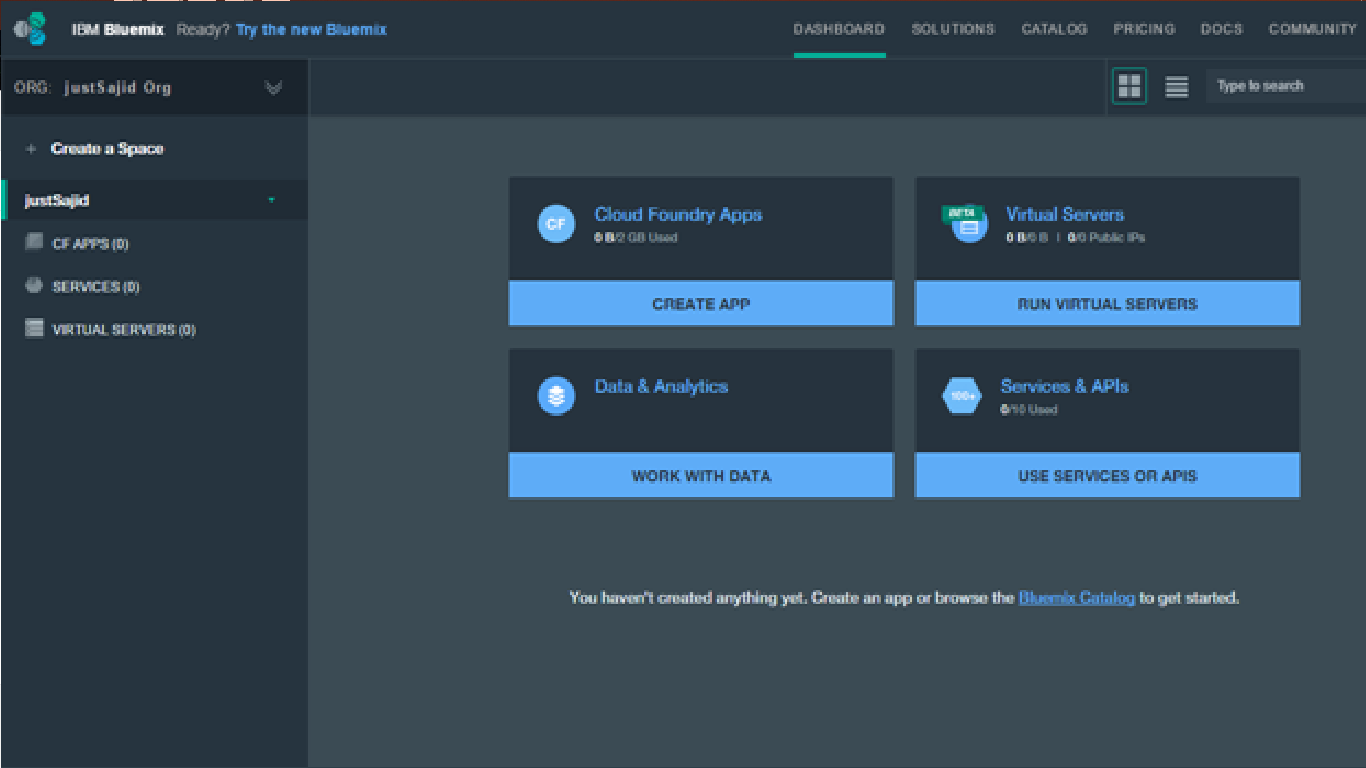
That would take you to your dashboard of Bluemix;
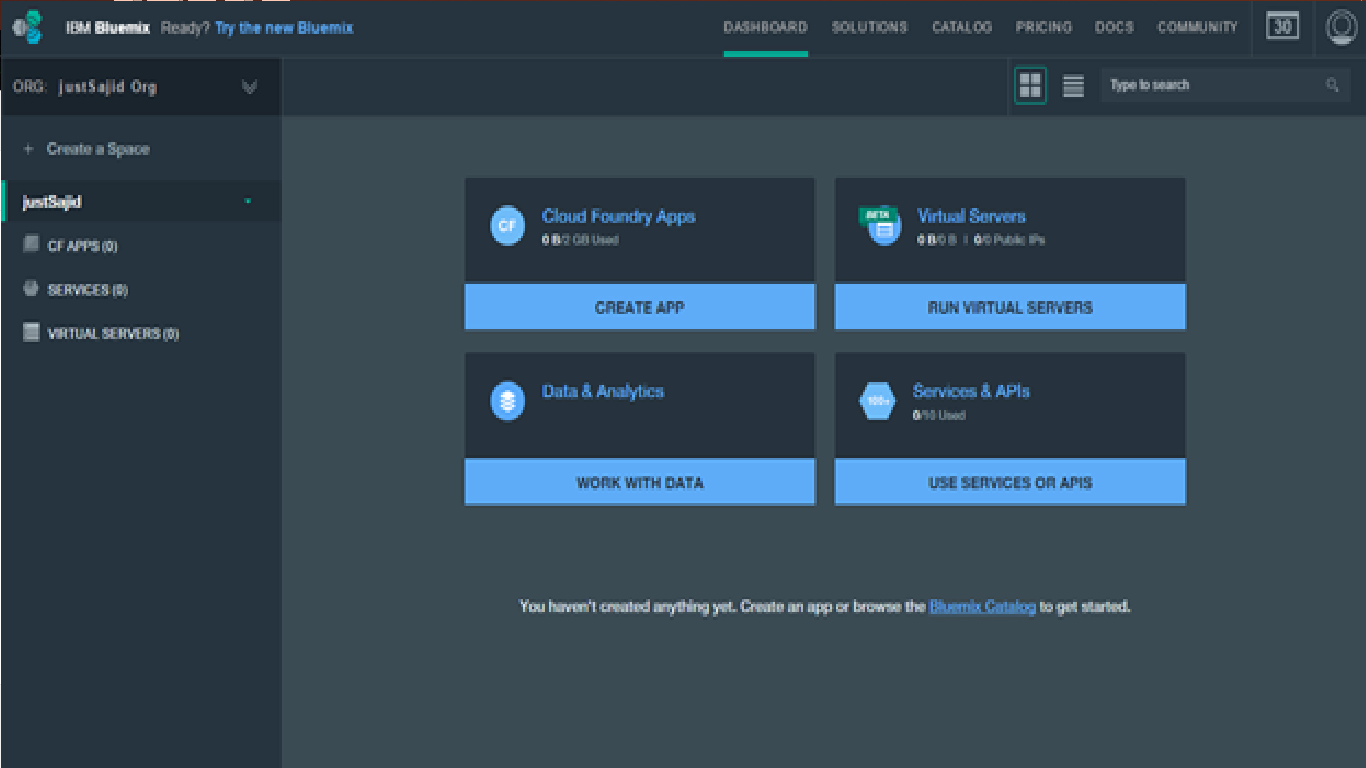
You can also try the new Bluemix portal;

So, from here you can go anywhere you want.
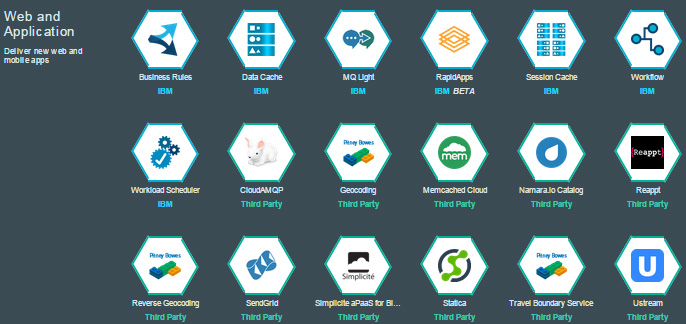
Create a Solution in Bluemix;
If we want to create a Software solution, Mobile First App Solution, IoT Solution or any other solution. Bluemix provides you a great solution through its services and by following few easy steps we can easily create our solutions through Bluemix.
Again! There are both ways available to deploy the app;
- Through the Portal.
- Through the Command Line.
And it’s upon you, either you are easy with UI and want to deploy apps through Portal or you are easy with Command Line and want to deploy apps through that.
So, Let’s do develop a Web App and deploy over Bluemix in both ways;
- Deploy App Using Portal UI;
So we simply follow the three major steps as we mentioned above to build cloud foundry app;
- Choose the runtime that we need to use.
Simply go to Bluemix Dashboard;
And click on CREATE App on Cloud Foundry Apps;
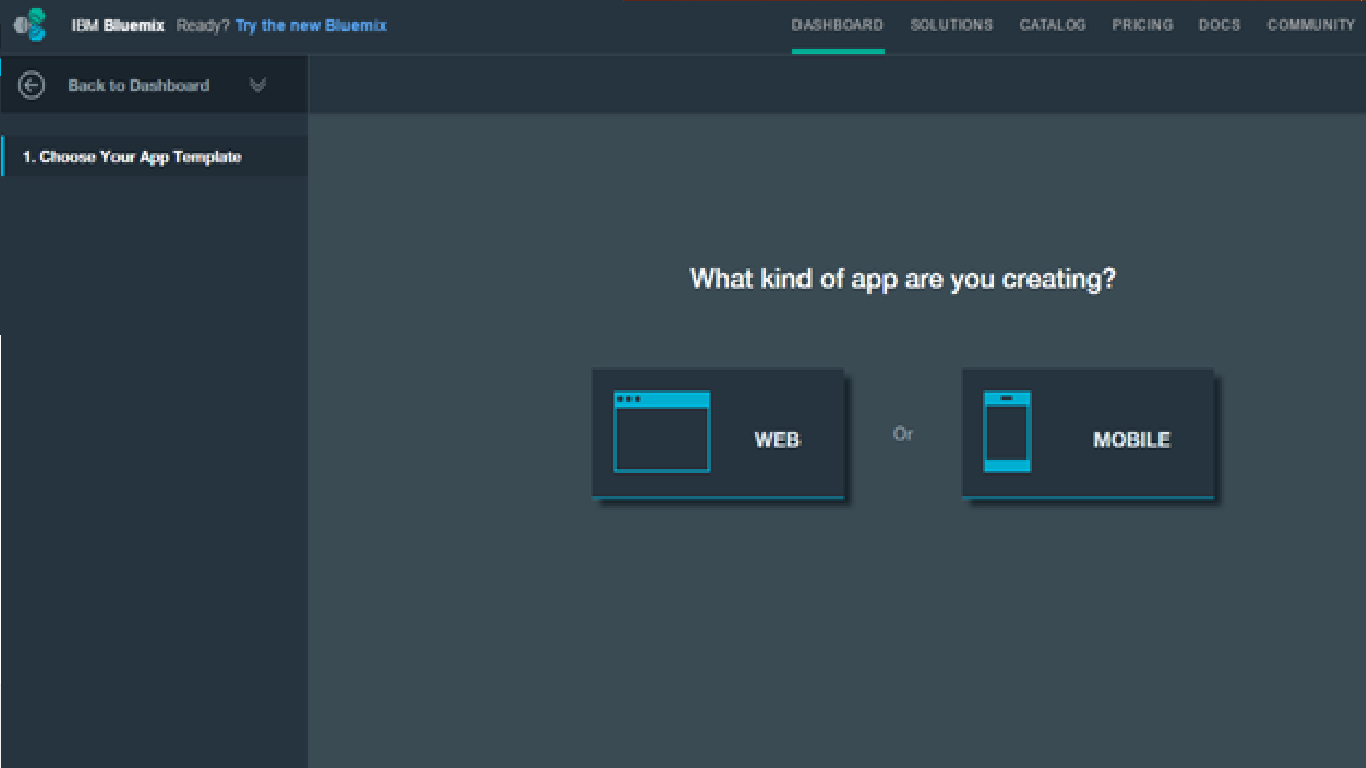
2.Choose the services that we are looking for.
Now simply select the WEB as we are going to develop a Web App;
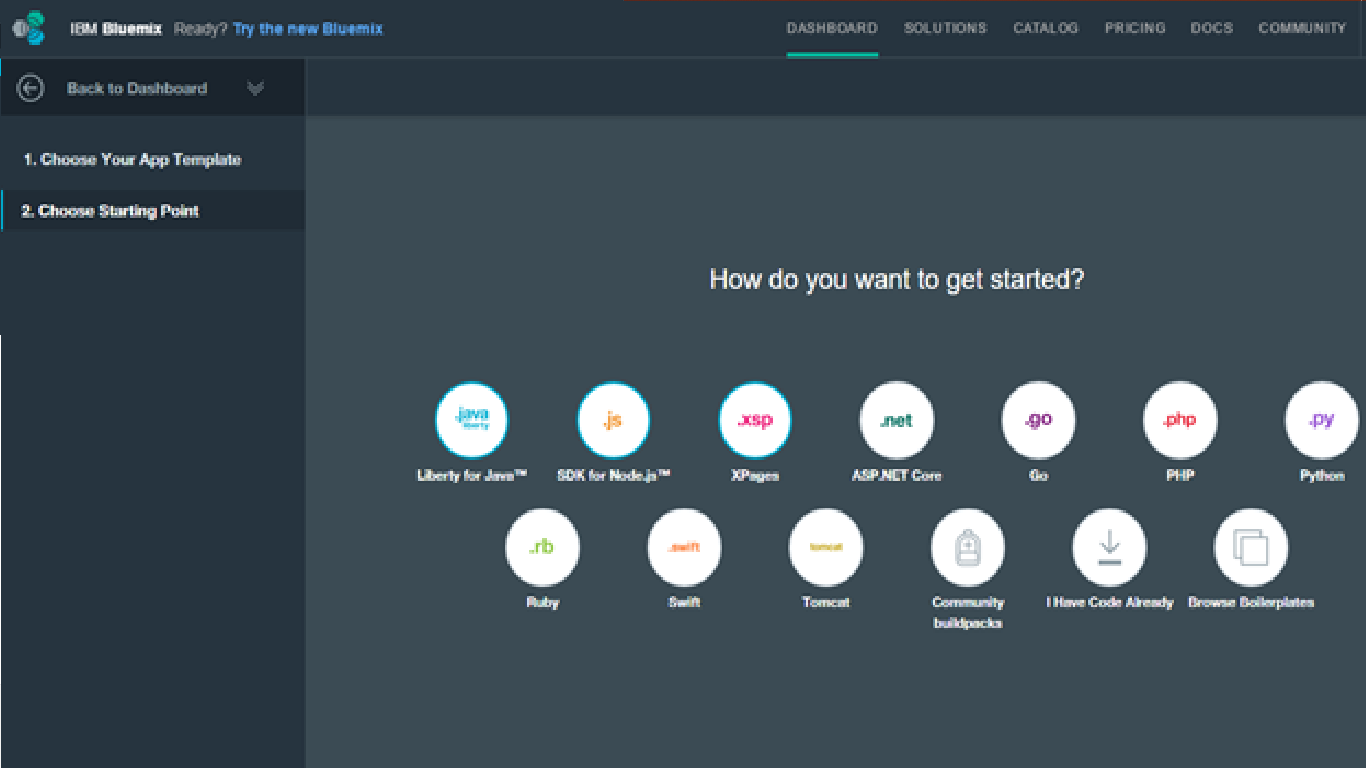
Now simply select the language with you want to use. For now, we are using ASP.NET Core do deploy the app.

Now simply click Continue button, it will ask you for the App Name. Simply Named the App and Click the FINISH Button;

Now, IBM Bluemix would create a moment to create WebApp named justSajid for you.
As soon you app would create it would create redirect to the dashboard of your web app;
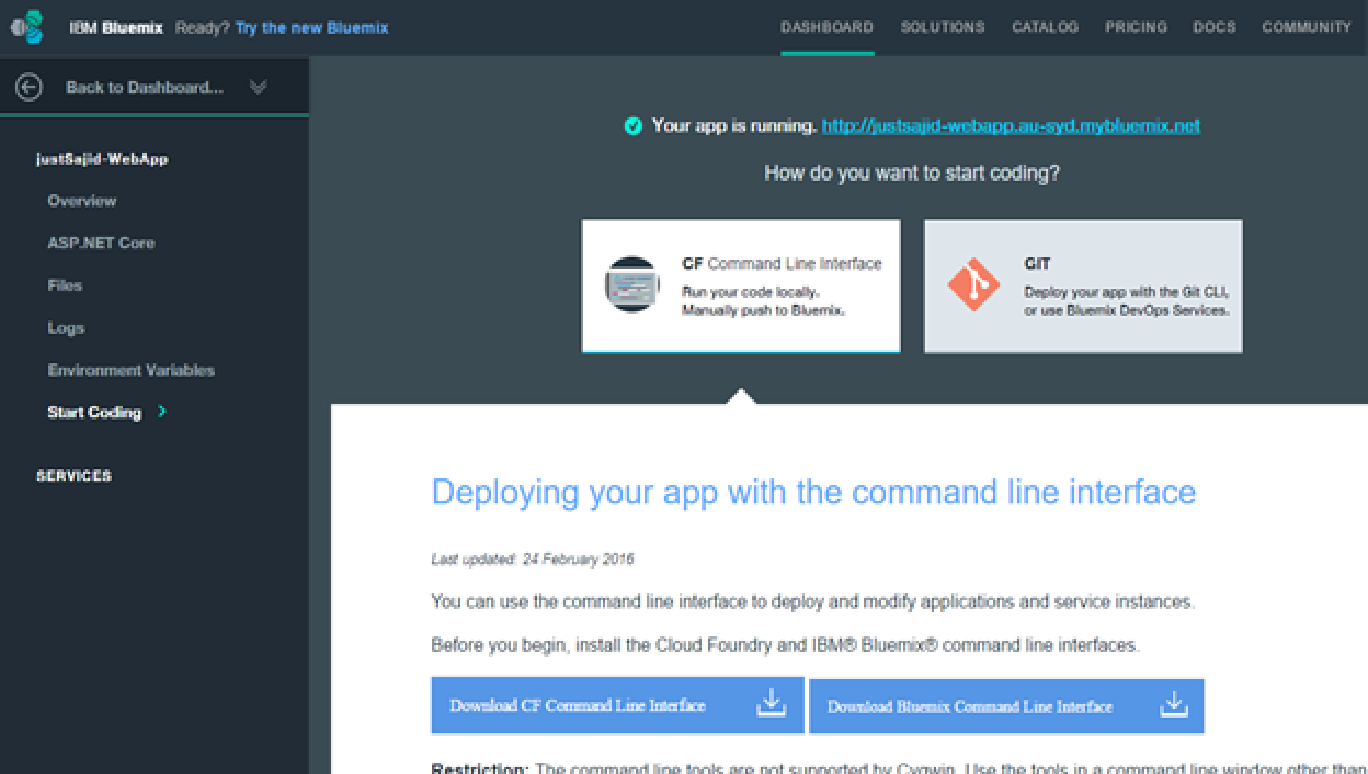
So you see your app, up and running! Simply go the URL as you can see on the Dashboard and you can see your web app;

So, you see how easy and fun is to develop a Web App Project over IBM Bluemix.
3. Deploy our app by pushing our code up;
Now this part is quite interesting. Once you have created your app and that is up and running then next is to update it with your own data. Simply go to the link according to the selected region here;
- https://bluemix.net – For default location.
- https://console.ng.bluemix.net – For US South region.
- https://console.eu-gb.bluemix.net – For United Kingdom Region
- https://console.au-syd.bluemix.net – For Sydney Region
Now go to Dashboard. The Web App which we created earlier will be showing in Dashboard in Applications section.
By using IBM DevOps Services you can easily modify your code. IBM DevOps is SaaS service on the cloud that supports continuous delivery. And by using that you can easily develop, track, plan and deploy the app in once place. And from your project, you can access everything.
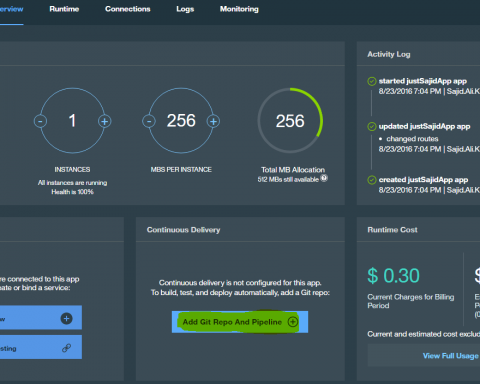
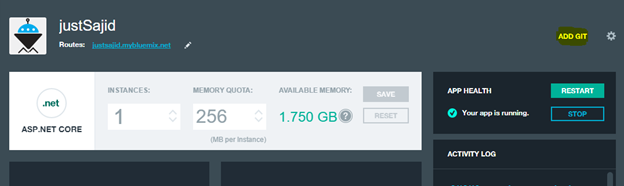
So, simply go to Dashboard of your app click ADD GIT;
So, that would create IBM DevOps Service (IDS) project. A GIT Repository would contain the app code and a delivery pipeline that would automatically re-deploy the app on “get-push”.
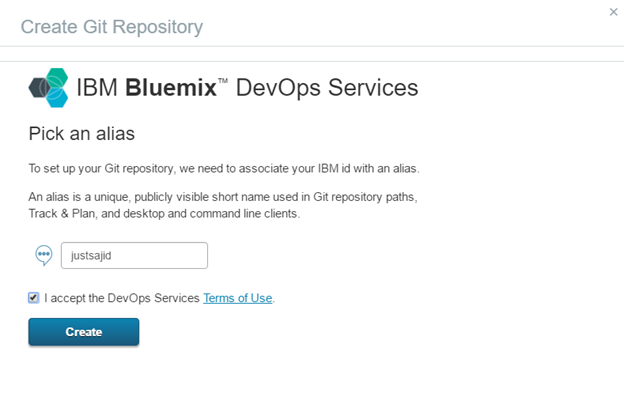
So that would create the alias.

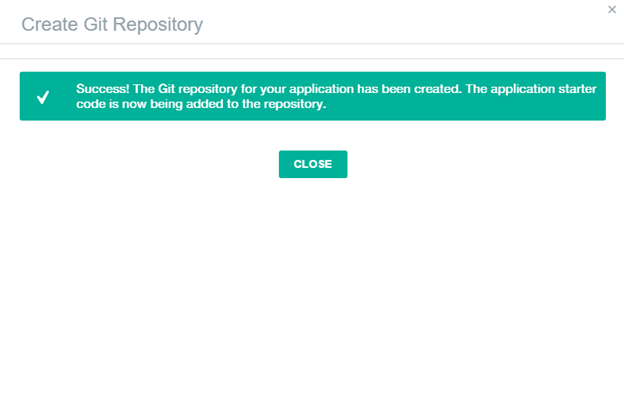
And that would create GIT Repository for your app and your app Starter code is added to that repository by default.
On your app dashboard you can easily see Git URL;
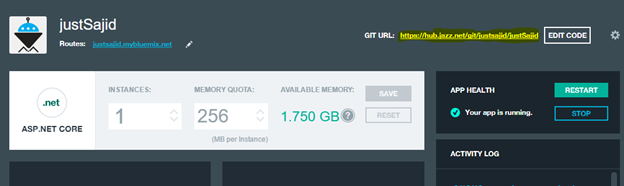
And by following the URL you can easily see your data in that repository;

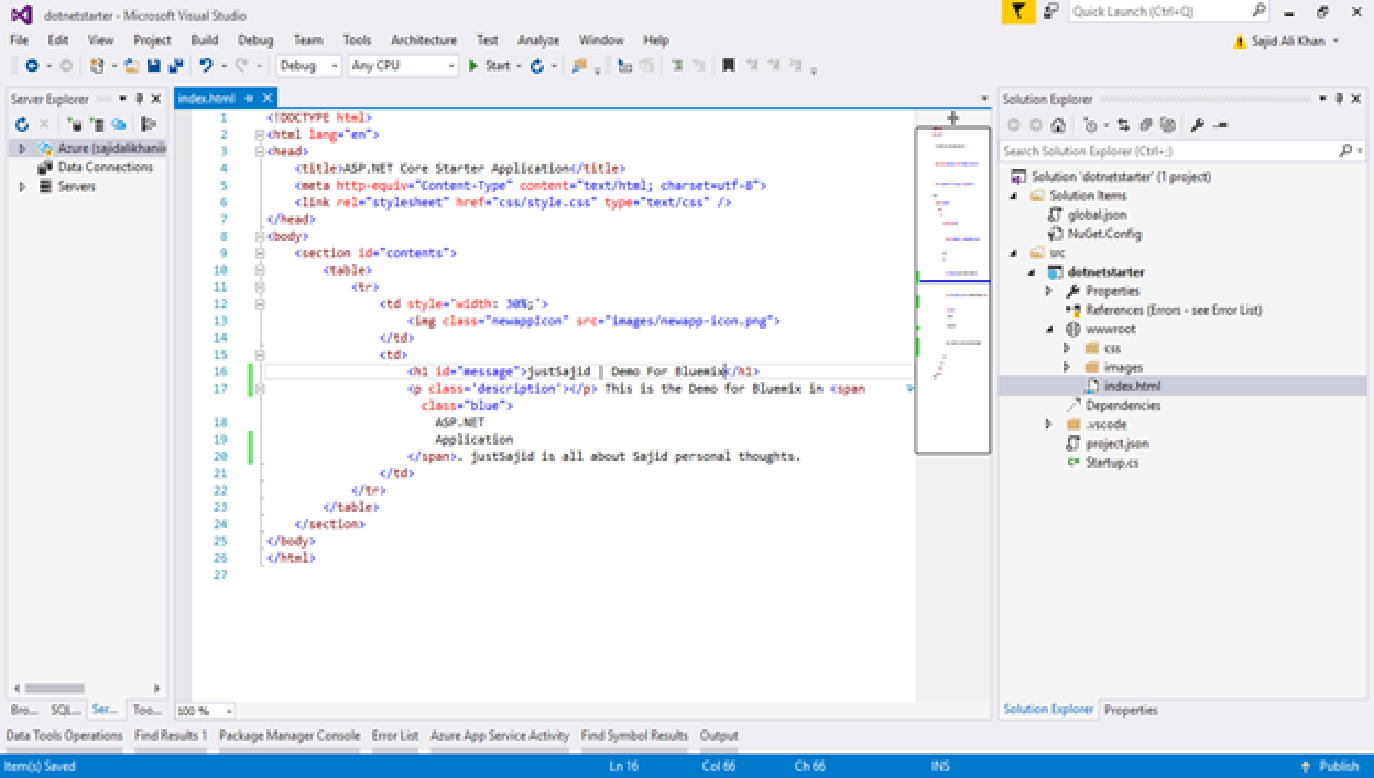
Now simply Start the Visual Studio and Clone that repository in that;

So now after clone the project you would have everything at the front of you;

And now you can customize however you want to and then update the project;
Now simply commit the changes to save everything over the cloud;
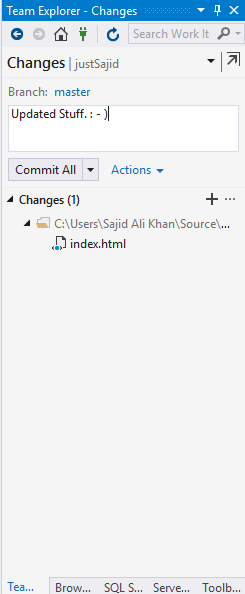
Now in GIT logs you can easily see your commits history and the commit which we just did;

But! The changes are still not occurred. We need to Switch back to DevOps Services;

And in Deploy Stages simply run the app and it would deploy your app for you;
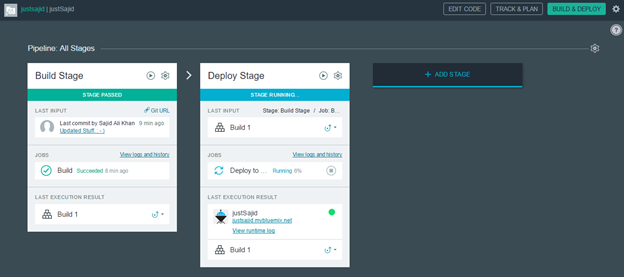
And when it’s complete you would see the Succeeded message;
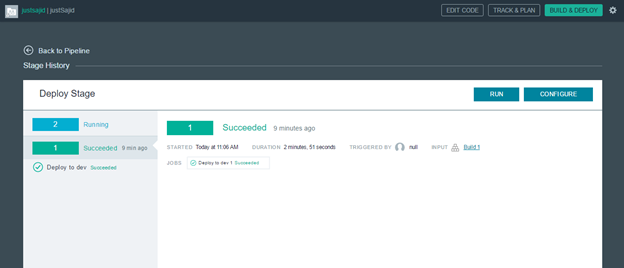
So that would automatically build and redeploy upon you git commit and push. The IDS BUILD & DEPLOY tab allows you to keep tabs on what’s going on.
And when its finish your changes would be updated in Bluemix.
Now you can see your updated Web App;
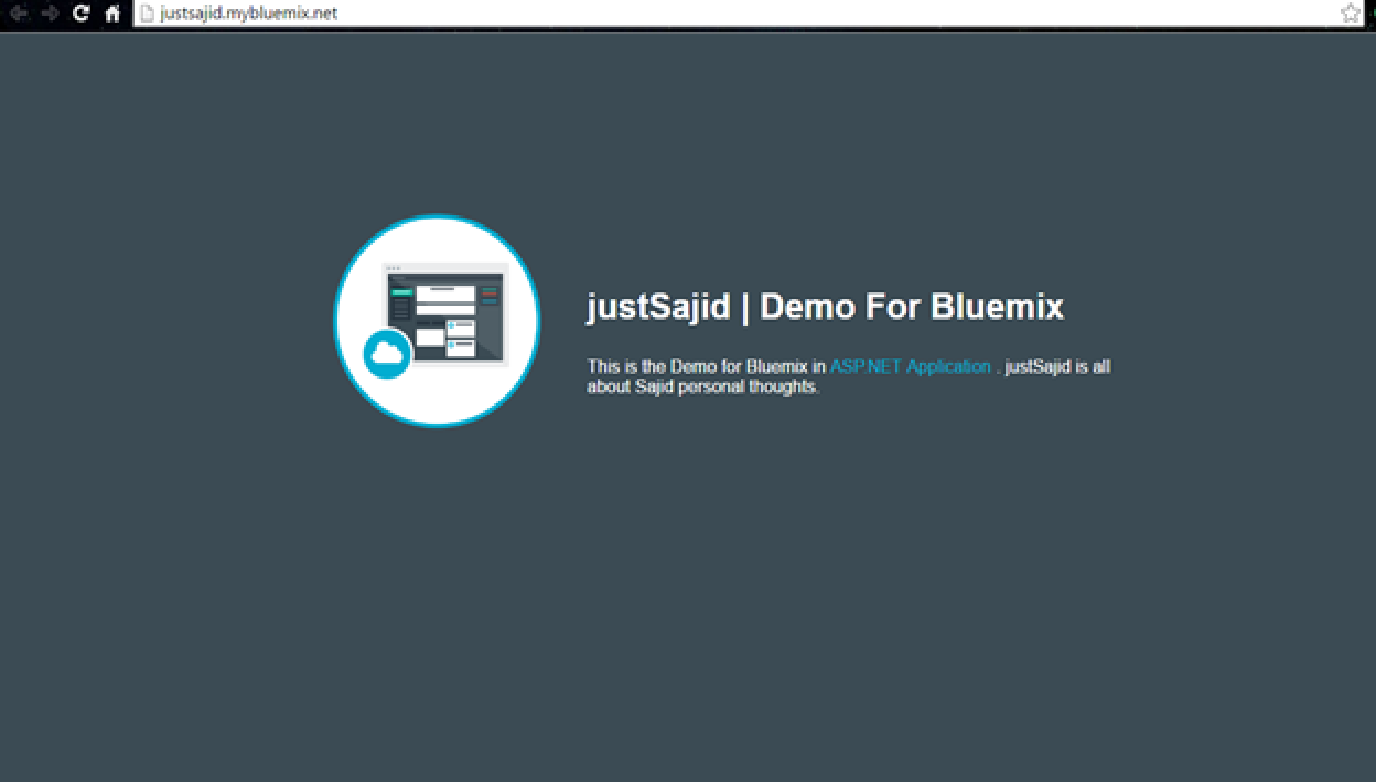
So you see how easy and fun is to play with Bluemix services.
- Deploy App Using Command Line;
If you feel easy with Command Line then congratulations! Bluemix provides you a great support that by following few easy steps and commands you can go up and running with your app.
So, simply go to the Portal and in App overview, delete the sample deployed app so that you can deploy your app from the command line.
Simply click the gear wheel in the application, and then click Delete App;

Now simply confirm the service;

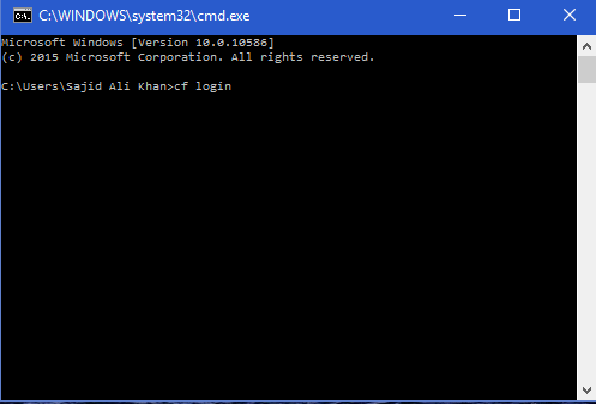
So, open the command prompted and simply run the command for login;
cf login
Now for the first time, enter your region URL, whatever it is;

Now it will ask for your Bluemix Email, simply enter the Email & Password for Bluemix;

It will do Authentication. AND! Kaboom. You are in your organization;

Now before you deploy the application, deploy a Cloudant database. For that view the available services by running this command;
cf marketplace

Now in a while, you would see the list services. So find the ‘cloudantNoSQLDB’ service;
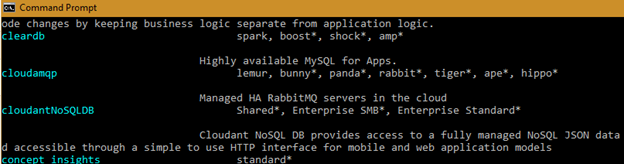
And create the service by running the following command;
cf cs cloudantNoSQLDB Shared BICloudant
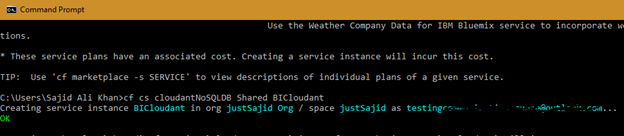
Here, cloudantNoSQLDB is the name of the service, Shared is the name of the service plan that you want to use from the cf marketplace command and BICloudant is the name of the service instant that we want to use. You may enter your own name rather than BICloudant. You will use the new name when connecting or binding the service to the app.
So, if you go to the portal then you would see the deployed service named ‘BICloudant’ which we deployed through cmd;

Now let’s deploy the app. Simply push the app to Bluemix by entering the following command;
cf push justSajidWebApp -c "node app.js" -m 128M --no-manifest --no-start

Here, justSajidWebApp is your unique application name and host name, -c specifies the command to start the application, -m specifies the amount of memory to allocate to each application instance (The default is 1 GB), –no-manifest instructs to CLI tool to ignore the supplied manifest file. This will allow the Cloudant database instance that we just created to be linked to the app and –no-start instructs to CLI tool not to automatically start the app.
(The reason not start the app automatically is to because it needs a DB to run. So we first need to link the DB instance to the app before the app start).
So, to link the DB and App simply use the following command;
cf bs justSajidWebApp BICloudant
So that would link the app and DB.
Now simply Start the App by running this simple command;
cf start justSajidWebApp
Now let’s go to the portal and you would see your app up and running.

So! You see how easy is it to play with Bluemix services. : – )
This is just the JumpStart of Bluemix, you can do everything which you can imagine with Bluemix services.
FOR HANDS ON DEMO
In order to get a best hands-on experience along with the Blog. Try out the code either By MSDN Code Samples or By GitHub.